threejs+shader绘制太阳讲解
背景
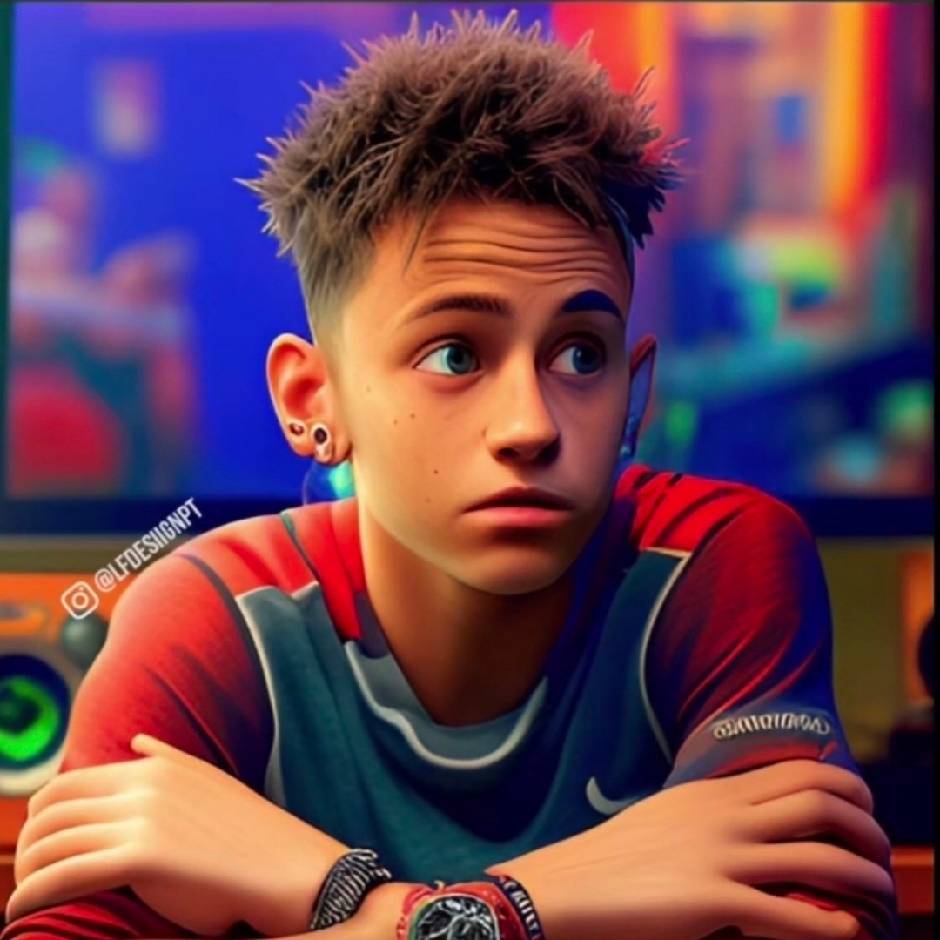
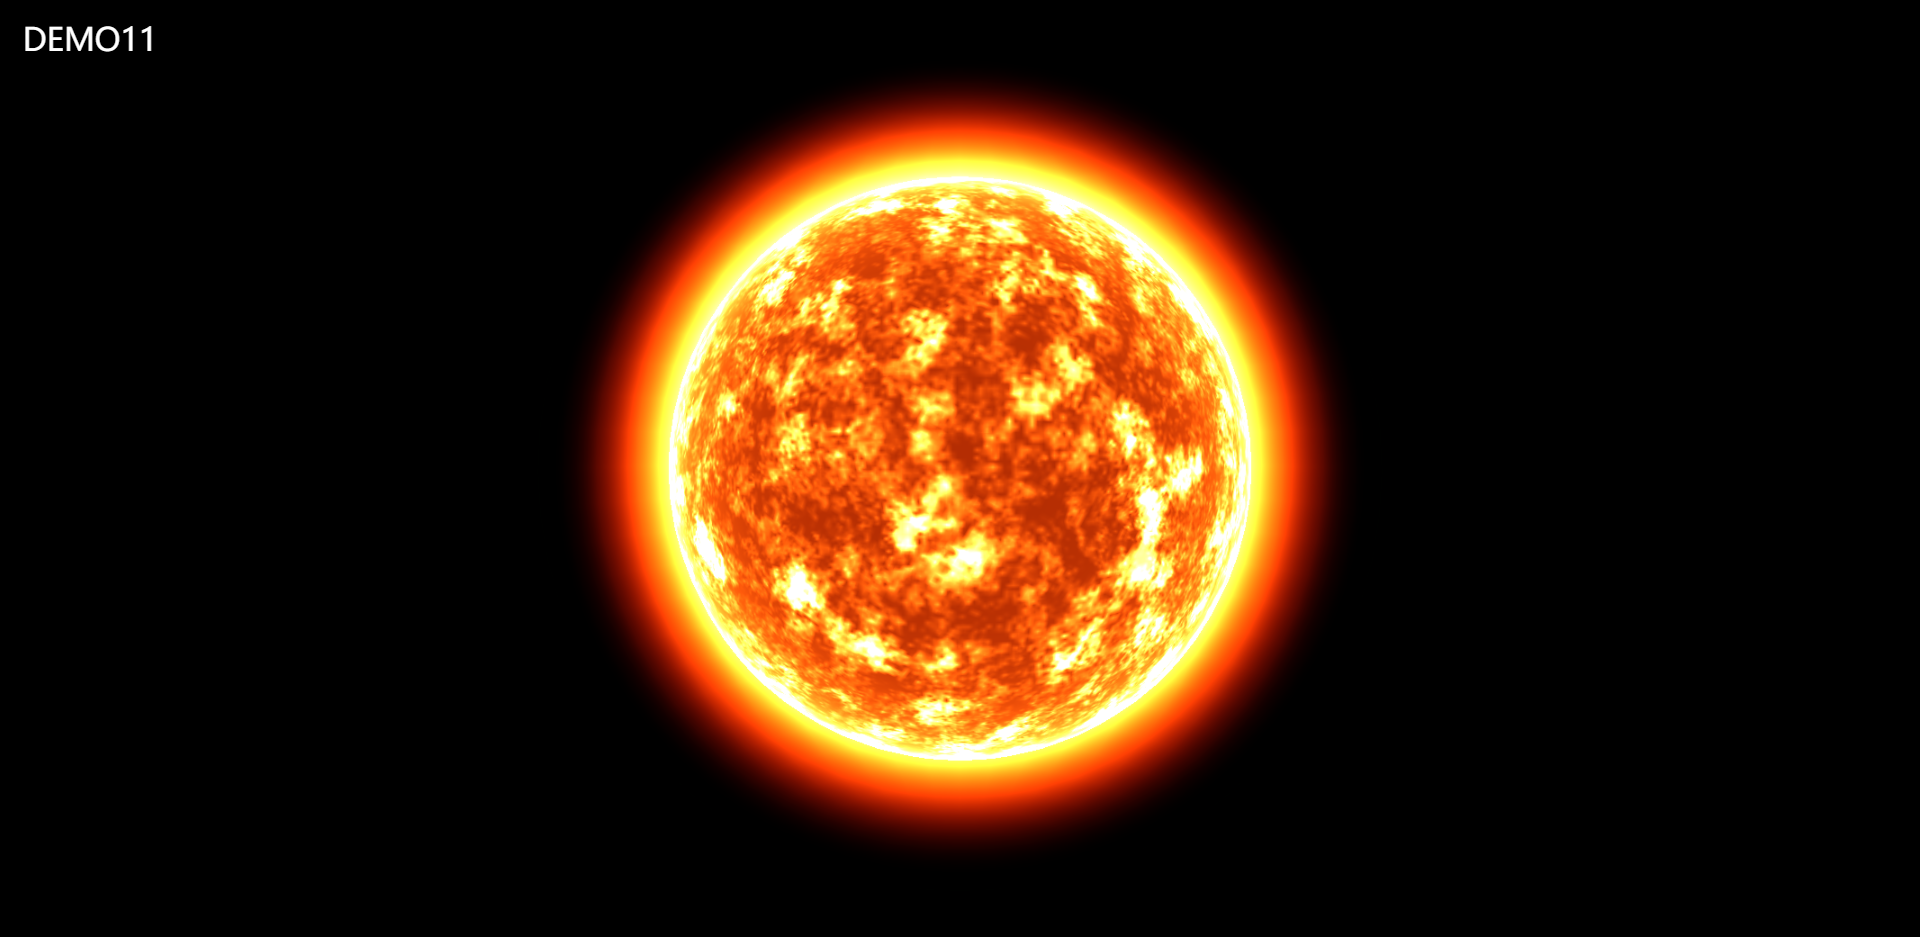
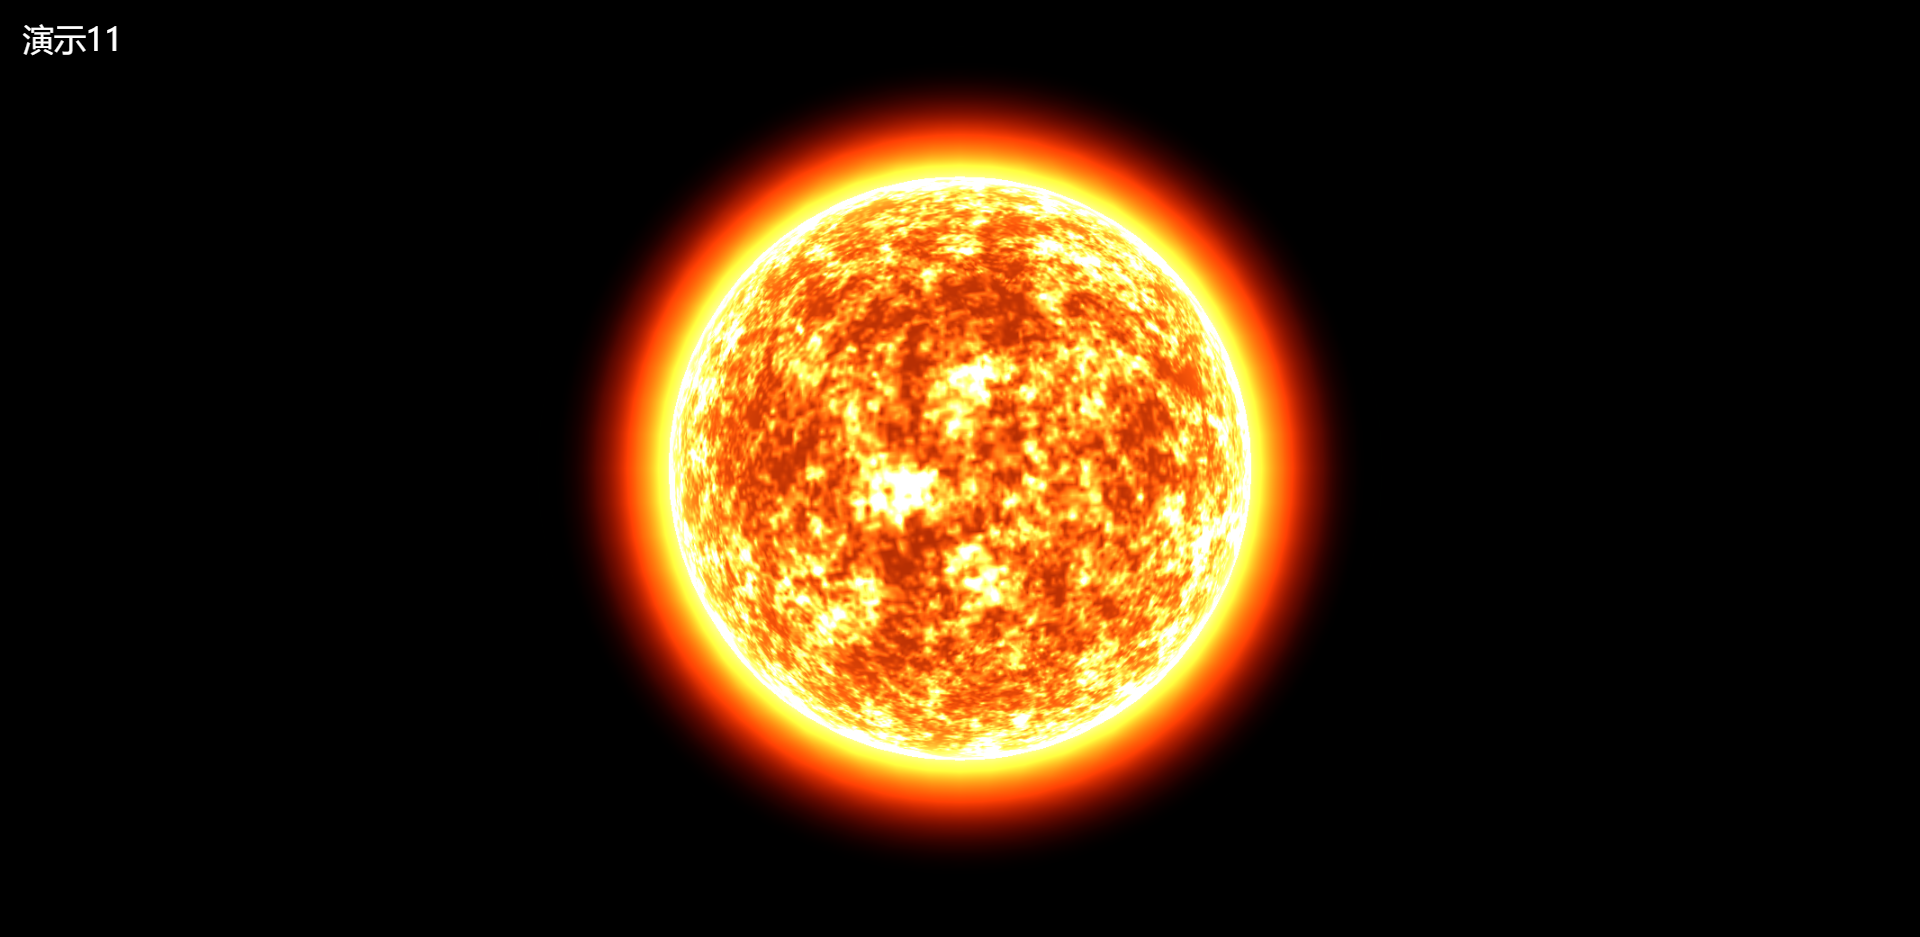
我们尝试用threejs+shader做一个关于太阳的案例,该案例的核心技术点在于noise的使用+threejsAPI的使用。我们来看一下效果展示:
所用主要工具介绍
| 三维引擎 | 代码编辑器 | 着色器版本 |
|---|---|---|
| Threejs | VScode | glsl100 |
初始化threejs容器
下载threejs文件包
我们先将所需要的threejs文件下载到本地,这边提供几种方式:
1、直接去threejs github下载,地址:https://github.com/mrdoob/three.js/
2、去官网下载,地址:https://threejs.org/,左边有一个“下载”二字。
3、npm install three ,下载完成后从nodemodel文件夹里找到“three.module.js”
引入到项目里
本项目是应用原生的js和html搭建的,没有采用其他的框架。并且引用的采用的是ES6模块。具体引用方式如下所示:
//在html里面引用
<script type="importmap">
  {
    "imports": {
      "three": "../../libs/three.module.js",
      "OrbitControls": "../../libs/OrbitControls.js"
    }
  }
</script>
<script src="js/index.js" type="module"></script>
//在index.js文件里使用three和OrbitControls
import * as THREE from 'three';
import { OrbitControls } from 'OrbitControls';初始化项目
定义一个canvas画布
<canvas width="700" height="700" id="canvaswebgl"></canvas>在index.js文件里初始化threejs中的一系列对象
我们需要初始化一个threejs容器,尝试加载一个box,效果如下图所示:

const scene = new THREE.Scene();
const section = document.querySelector('section');
const camera = new THREE.PerspectiveCamera(45, window.innerWidth / window.innerHeight, 0.1, 1000);
camera.position.z = 20;

const renderer = new THREE.WebGLRenderer({
  canvas: document.getElementById('canvaswebgl')
});
renderer.setSize(window.innerWidth, window.innerHeight);
const clock = new THREE.Clock();
const controls = new OrbitControls( camera, renderer.domElement );


controls.update();
const geometry1 = new THREE.BoxGeometry( 1, 1, 1 );
const material1 = new THREE.MeshBasicMaterial( {color: 0x00ff00} );
const cube = new THREE.Mesh( geometry1, material1 );
scene.add( cube );
animate();
function animate() {

  controls.update();
  renderer.render(scene, camera);
  requestAnimationFrame(animate);

}
创建自定义shader纹理
创建sun球体几何
因为太阳是一个球体,所以我们创建一个球体模型。并且我们定义一个ShaderMaterial材质,关于shaderMaterial大家可以去threejs doc查看详情,里面分别以我们自己定义的顶点和片源着色为属性,传入进去。
// 创建几何体
const geometry = new THREE.SphereGeometry(5.0, 32, 32)


// 创建shader材质并且作为cube的输出
const materialSun = new THREE.ShaderMaterial({
  vertexShader: sunVertexTexture,
  fragmentShader: sunFragmentTexture,
  side: THREE.DoubleSide,
  uniforms: {
    uTime: { value: 0 },
    uPerlin: { value: null }
  }
})

const Sun = new THREE.Mesh(geometry, materialSun)
scene.add(Sun)
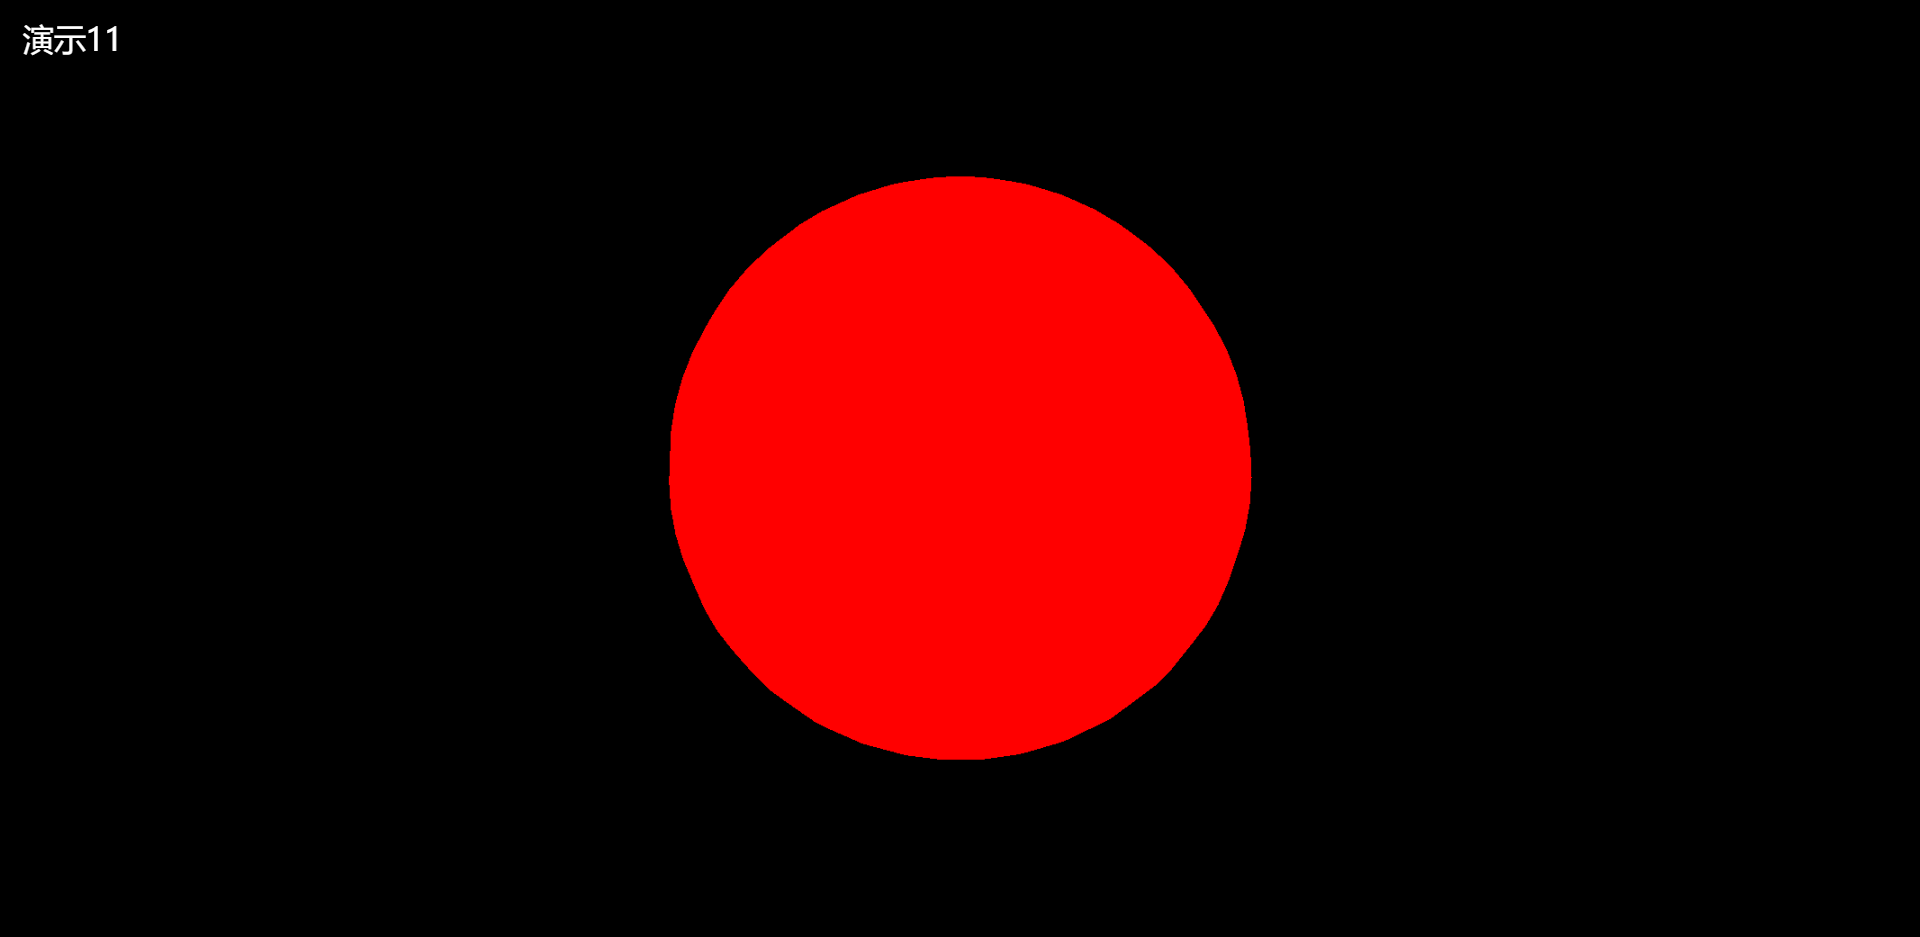
上述代码中的“sunFragmentTexture”和“sunVertexTexture”,分别是片元着色器片段与顶点着色器片段。
void main()
{
  gl_FragColor = vec4(vec3(1.,0.,0.),1.0);
}`
`
const sunVertexTexture = `uniform float uTime;
varying vec2 vUv;
varying vec3 vPosition;
void main()
{
vPosition = position;
gl_Position = projectionMatrix * modelViewMatrix * vec4(position, 1.0);
}`效果如下所示:
创建cubematerial
在创建cubematerial时候我们采用的是场景中相机生产的cubematerial,并且将其作为纹理传递给我们sun。
//初始化新的场景,用作cubeCamera渲染目标
const scene2 = new THREE.Scene()
const noiseGeo = new THREE.SphereGeometry(5.0, 32, 32)
const materialnoise = new THREE.ShaderMaterial({
  vertexShader: sunVertexShader,
  fragmentShader: sunFragmentShader,
  side: THREE.DoubleSide,
  uniforms: {
    uTime: { value: 0 }
  }
})

const noiseSun = new THREE.Mesh(noiseGeo, materialnoise)
scene2.add(noiseSun)
cubeCamera应用
const cubeRenderTarget = new THREE.WebGLCubeRenderTarget(128, { generateMipmaps: true, minFilter: THREE.LinearMipmapLinearFilter });
// 创建cubeCamera相机
const cubeCamera = new THREE.CubeCamera(1, 100000, cubeRenderTarget);
scene2.add(cubeCamera);
上一步中我们创建完立方体相机后,立方体渲染器目标对象上边生成了有相机获取的图形生成的纹理,并保存在cubeRenderTarget.texture之中,接下来把它当环境贴图创建材质,随后使用这个材质创建一个球体Mesh
function animate() {
  cubeCamera.update(renderer, scene2);
  Sun.material.uniforms.uPerlin.value = cubeRenderTarget.texture;
  controls.update();
  renderer.render(scene, camera);
  requestAnimationFrame(animate);

}注:上面代码中要更新scene2在cubeCamera里面
shader模块详解
噪音部分
noise噪音我们先前在讲glsl中级的时候给大家安排过,这次我们主要将理论进行应用,首先我们来看太阳的内部,噪音部分的shader:
顶点着色器部分
这一部分是threejs官方网站上提供的shader顶点初始化部分,因为此部分不涉及到顶点的变形,所以该部分没有变化。
const sunVertexShader = `
varying vec3 vPosition;
void main()
{
    vPosition = position;
    gl_Position = projectionMatrix * modelViewMatrix * vec4(position, 1.0);
}`
片元着色器部分
FBM是该模块的核心内容,其实本质还是noise,只不过将多层noise进行叠加,进而组成了更为复杂的noise模块。
 //FBN算法也很容易理解,就是通过改变noise传入的值,而产生不同概率的噪音,并且将这些噪音进行累加,更加密集。
float fbm(vec4 p){
  float sum = 0.0;
  float amp = 1.0;
  float scale = 1.0;
  for(int i=0;i<6;i++){
    sum +=snoise(p * scale) * amp;
    p.w +=100.0;
    amp *=0.9;
    scale *=2.0;
  }
  return sum;
}
//以下是核心代码的应用
const sunFragmentShader = `

void main()

{
  vec4 p = vec4(vPosition * 0.7, uTime*0.05);
  float sunNoise = fbm(p);
  gl_FragColor = vec4(sunNoise) *.6;
}

`
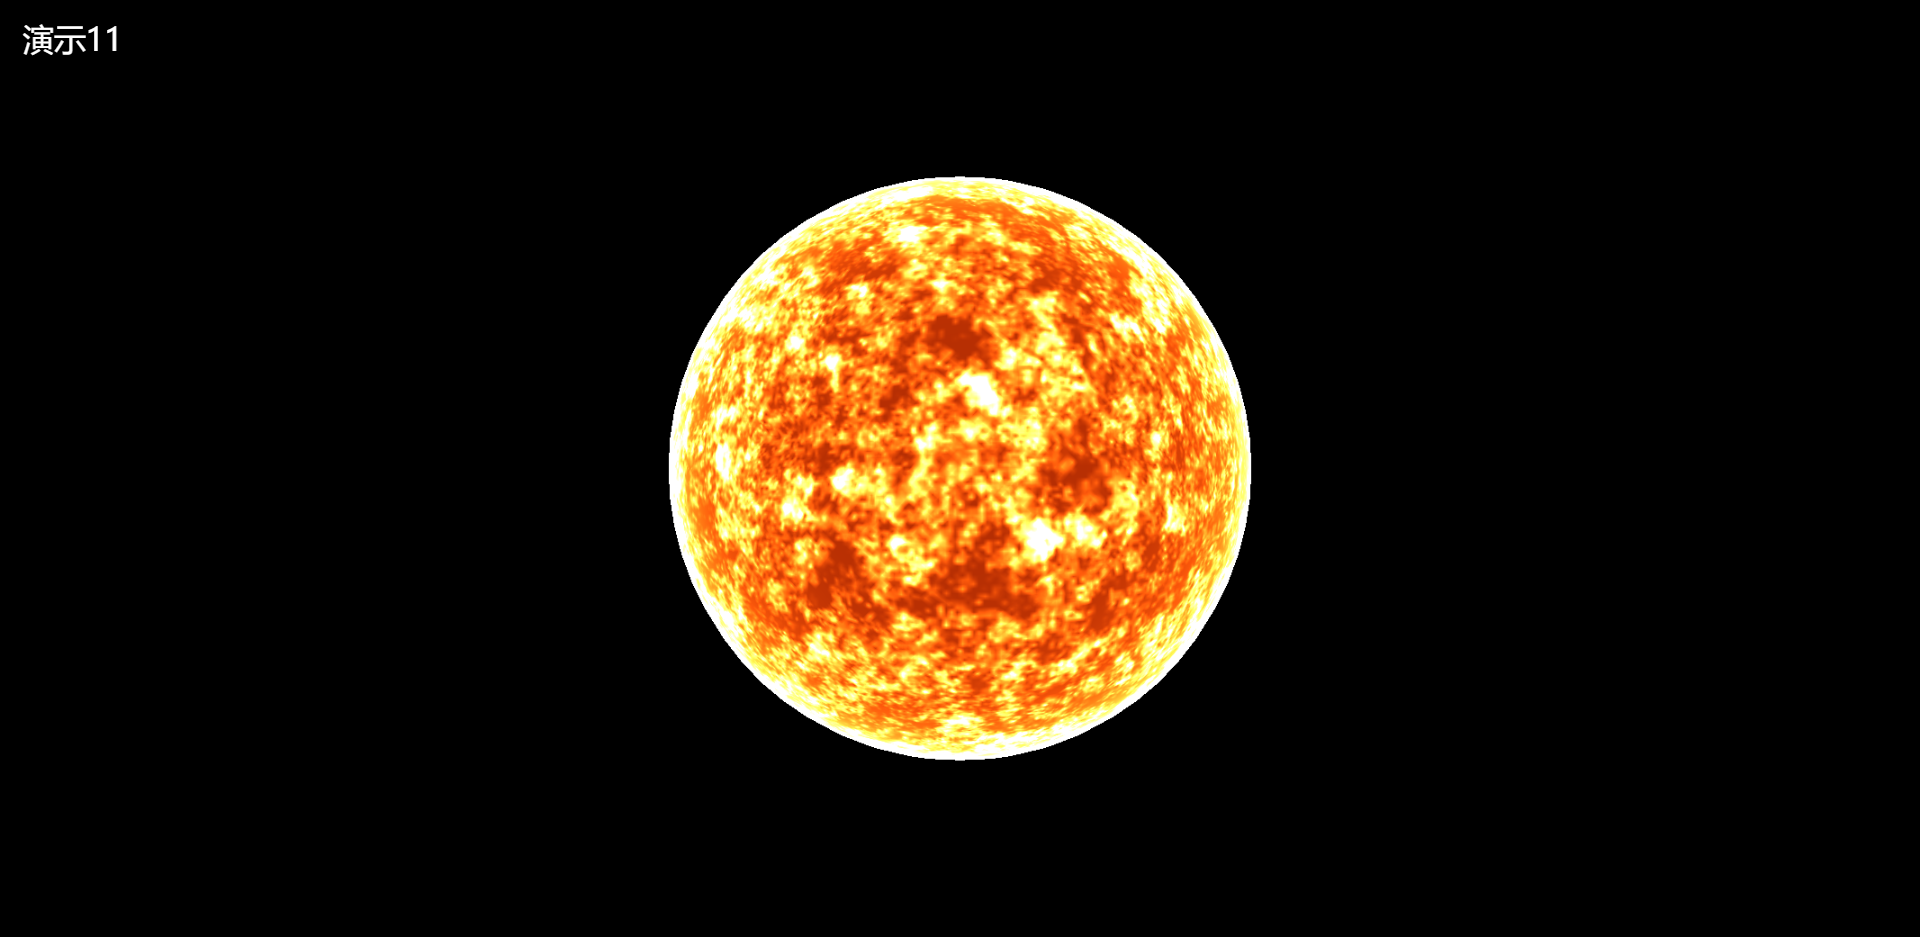
cube纹理部分的shader详解
效果如下所示:
顶点着色器部分
const sunVertexTexture = `uniform float uTime;
varying vec2 vUv;
varying vec3 vPosition;
varying vec3 vLayer0;
varying vec3 vLayer1;
varying vec3 vLayer2;
varying vec3 eyeVector;
varying vec3 vNormal;

//旋转矩阵
mat2 rotate(float a){
    float s = sin(a);
    float c = cos(a);
    return mat2(c,-s,s,c);
}


void main()
{
//uv坐标
    vUv = uv;
    //顶点法线
    vNormal = normal;
//世界坐标系

    vec4 WorldPosition = modelMatrix * vec4 (position,1.0);
    //顶点到相机的向量
    eyeVector = normalize(WorldPosition.xyz - cameraPosition);

//分别求围绕各个轴所进行的顶点旋转
    float t = uTime * 0.03;
    mat2 rot = rotate(t);

    vec3 p0 = position;
    p0.yz = rot * p0.yz;
    vLayer0 = p0;

    mat2 rot1 = rotate(t+10.0);
    vec3 p1 = position;
    p1.xz = rot1 * p1.xz;
    vLayer1 = p1;

    mat2 rot2 = rotate(t+30.0);
    vec3 p2 = position;
    p2.xy = rot2 * p2.xy;
    vLayer2 = p2;

    vPosition = position;

    gl_Position = projectionMatrix * modelViewMatrix * vec4(position, 1.0);
}`
片元着色器部分
const sunFragmentTexture = `uniform float uTime;
varying vec2 vUv;
uniform samplerCube uPerlin;
varying vec3 vPosition;
varying vec3 vNormal;
varying vec3 vLayer0;
varying vec3 vLayer1;
varying vec3 vLayer2;
varying vec3 eyeVector;
const float PI = 3.14159265359;


vec3 brightnessToColor (float b){
  b *=0.25;
  return (vec3(b, b*b, b*b*b*b)/0.25)*0.7;
}

//将各个图层的纹理叠加整合
float sun(){
  float sum = 0.0;
  sum +=textureCube(uPerlin,vLayer0).r;
  sum +=textureCube(uPerlin,vLayer1).r;
  sum +=textureCube(uPerlin,vLayer2).r;
  sum *=0.40;
  return sum;
}

//菲涅耳计算
float Fresnel(vec3 eyeVector,vec3 worldNormal){
    return pow(1.3 + dot(eyeVector,worldNormal),4.0);
}


void main()

{
  //获取纹理
  float brightness = sun();
  //增加对比度
  brightness = brightness*4.0+1.0;
 //菲涅耳计算模拟反射和折射的光照
  float fres = Fresnel(eyeVector,vNormal);
  brightness += fres;
  //获取太阳的颜色
  vec3 color = brightnessToColor(brightness);
  gl_FragColor = vec4(color,1.0);

}`
sun外表面详解
上面我们基本完成了太阳的模拟,但还缺少一个最外层的光环,我们需要重新定义个球体,该球体要大于上述两个球体,使他环绕在周围。
加载roundsun
const sunRundGeo = new THREE.SphereGeometry(7.0, 32, 32)
const rundSun = new THREE.ShaderMaterial({
  vertexShader: sunRundVertexTexture,
  fragmentShader: sunRundFragmentTexture,
  side: THREE.BackSide,
  uniforms: {
    uTime: { value: 0 },
    uPerlin: { value: null }
  }
})
const texturedSunRund = new THREE.Mesh(sunRundGeo, rundSun)
 scene.add(texturedSunRund)
设置rundsunshader纹理
顶点着色器
const sunRundVertexTexture = `uniform float uTime;
varying vec3 vPosition;


//
mat2 rotate(float a){
    float s = sin(a);
    float c = cos(a);
    return mat2(c,-s,s,c);
}

void main()
{

    vPosition = position;

    gl_Position = projectionMatrix * modelViewMatrix * vec4(position, 1.0);
}`
片元着色器
const sunRundFragmentTexture = `


//太阳色构建
vec3 brightnessToColor (float b){
  b *=0.25;
  return (vec3(b, b*b, b*b*b*b)/0.25);
}

void main()

{


  float d=mix(0.3,0.,vPosition.z) ;
  d=pow(d,3.);
 vec3 color = brightnessToColor(d);

gl_FragColor = vec4(vec3(color),1.);

}`
最终效果如下所示:
 shader
 threeJS

 WebGL
WebGL cesium
 gis
gis 模型
模型 glsl
glsl